文章摘要
......引入依赖
<!--        邮件-->
        <dependency>
            <groupId>org.springframework.boot</groupId>
            <artifactId>spring-boot-starter-mail</artifactId>
        </dependency>
配置文件:
spring:
  mail:
    # 配置 SMTP 服务器地址
    host: smtp.qq.com
    # 发送者邮箱
    username: ooahz@qq.com
    # 邮箱密码(即邮件授权码)
    password: axxxxxxxxz
    # 邮箱端口号(QQ邮箱为465或587;其它邮件默认端口为25,加密端口为465)
    port: 587
    # 默认的邮件编码为UTF-8
    default-encoding: UTF-8
    # 配置SSL 加密工厂
    properties:
      mail:
        smtp:
          socketFactoryClass: javax.net.ssl.SSLSocketFactory
#          socketFactoryPort: 465
#          ssl:
#            trust: "*"
#            enable: true
#          starttls:
#            enable: true
#          auth: true
        # 开启Debug
        debug: true
携带文字发送
接口类:
import org.springframework.beans.factory.annotation.Autowired;
import org.springframework.mail.SimpleMailMessage;
import org.springframework.mail.javamail.JavaMailSender;
import org.springframework.web.bind.annotation.PostMapping;
import org.springframework.web.bind.annotation.RestController;
import java.util.Date;
/**
* @author ahzoo
* @create 2022/2/11
* @desc 邮件发送
*/
@RestController
public class email {
@Autowired
JavaMailSender javaMailSender;
/**
* 发送简单邮件
* @return success
*/
@PostMapping("/send")
public String sendEmail() {
// 构建邮件发送对象
SimpleMailMessage message = new SimpleMailMessage();
// 设置邮件主题
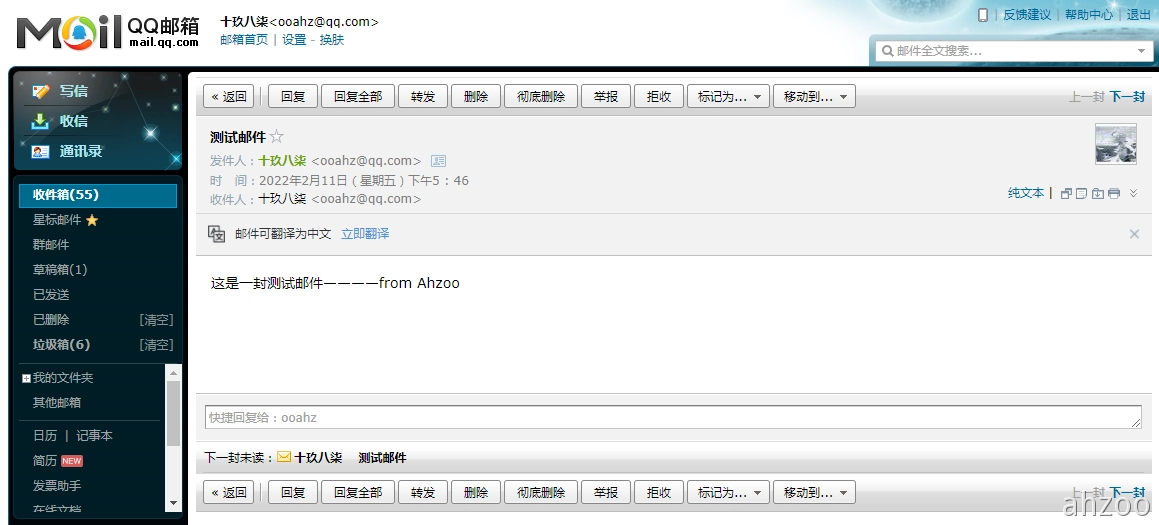
message.setSubject("这是一封测试邮件");
// 设置邮件发送者,与配置文件中的邮箱保持一致
// String from = String.format("\"%s\" <%s>", "Z次元", "ooahz@qq.com");
String from = "ooahz@qq.com";
message.setFrom(from);
// 设置邮件接收者,可以有多个接收者,中间用逗号隔开,以下类似
// message.setTo("123@qq.com","999qq.com");
message.setTo("ooahz@qq.com");
// 设置邮件抄送人,可以有多个抄送人
// message.setCc("999@163.com");
// // 设置隐秘抄送人,可以有多个
// message.setBcc("999@outlook.com");
// 设置邮件发送日期
message.setSentDate(new Date());
// 设置邮件的正文
message.setText("这是一封测试邮件————from Ahzoo");
// 发送邮件
javaMailSender.send(message);
return "发送成功";
}
}
因为开启了debug功能,所以邮件发送结果会在控制台打印: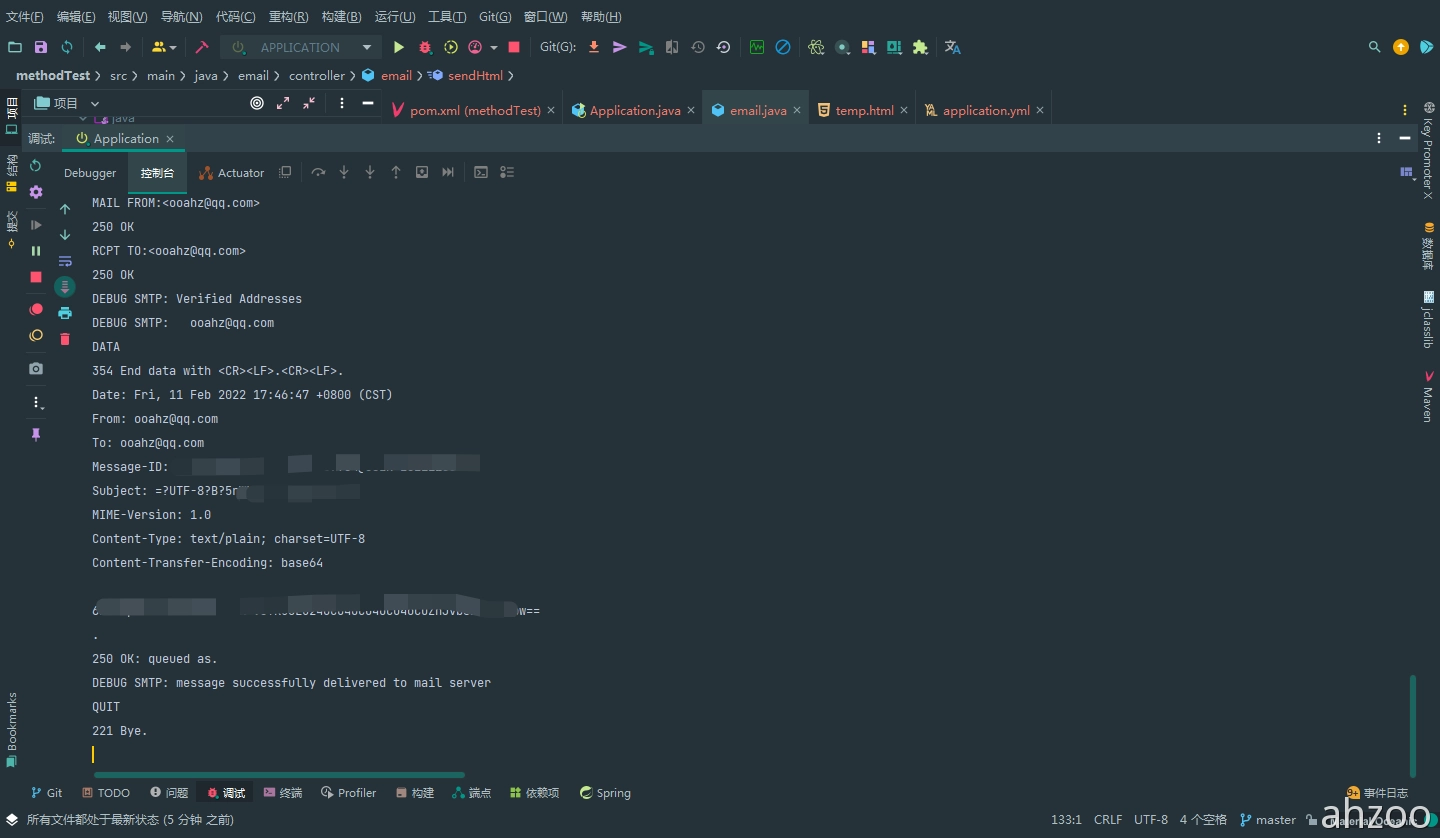
测试发送: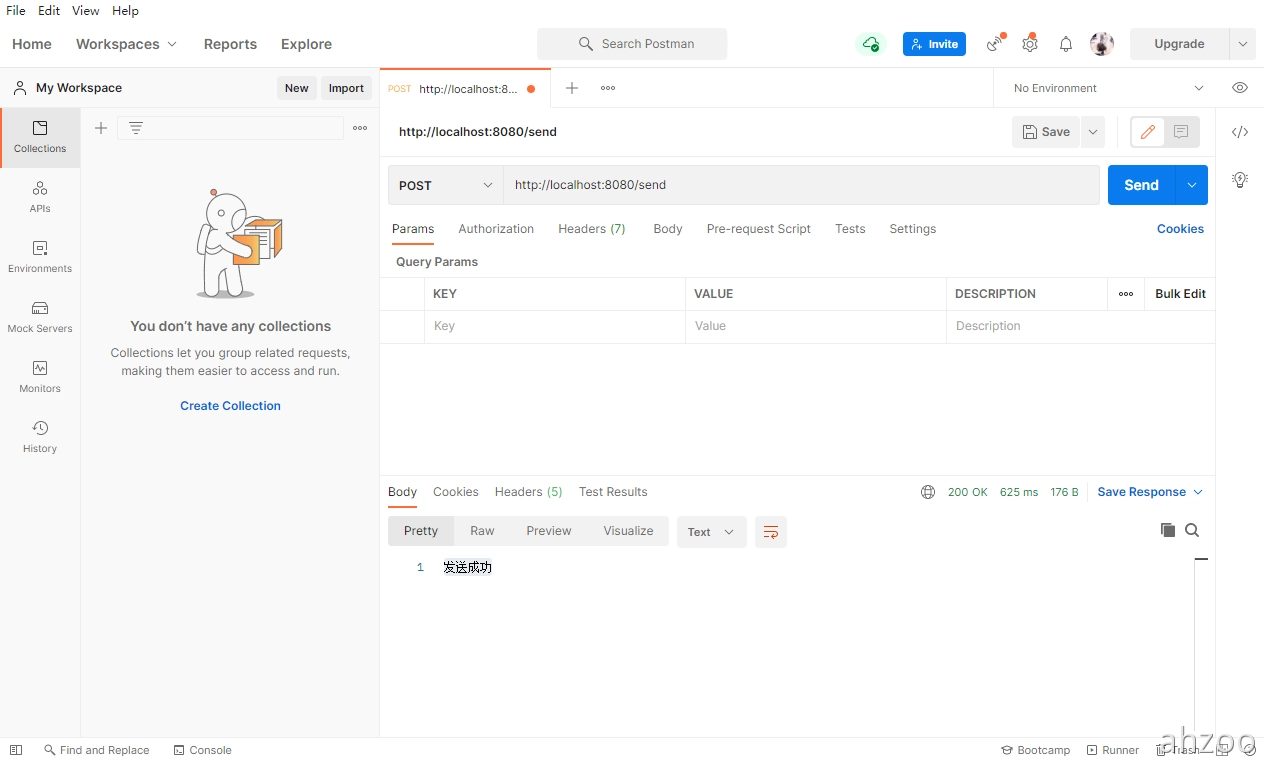
携带附件发送
import org.springframework.beans.factory.annotation.Autowired;
import org.springframework.mail.SimpleMailMessage;
import org.springframework.mail.javamail.JavaMailSender;
import org.springframework.mail.javamail.MimeMessageHelper;
import org.springframework.web.bind.annotation.PostMapping;
import org.springframework.web.bind.annotation.RestController;
import javax.mail.MessagingException;
import javax.mail.internet.MimeMessage;
import java.io.File;
import java.util.Date;
/**
* @author ahzoo
* @create 2022/2/11
* @desc 邮件发送
*/
@RestController
public class email {
@Autowired
JavaMailSender javaMailSender;
/**
* 携带附件发送
*
* @return result
*/
@PostMapping("/sendAttachment")
public String sendFile() {
// 使用MimeMessage对象发送复杂邮件
MimeMessage mimeMessage = javaMailSender.createMimeMessage();
// 使用MimeMessageHelper对邮件进行配置,true表示构建一个可以带附件的邮件对象
MimeMessageHelper helper = null;
try {
helper = new MimeMessageHelper(mimeMessage, true);
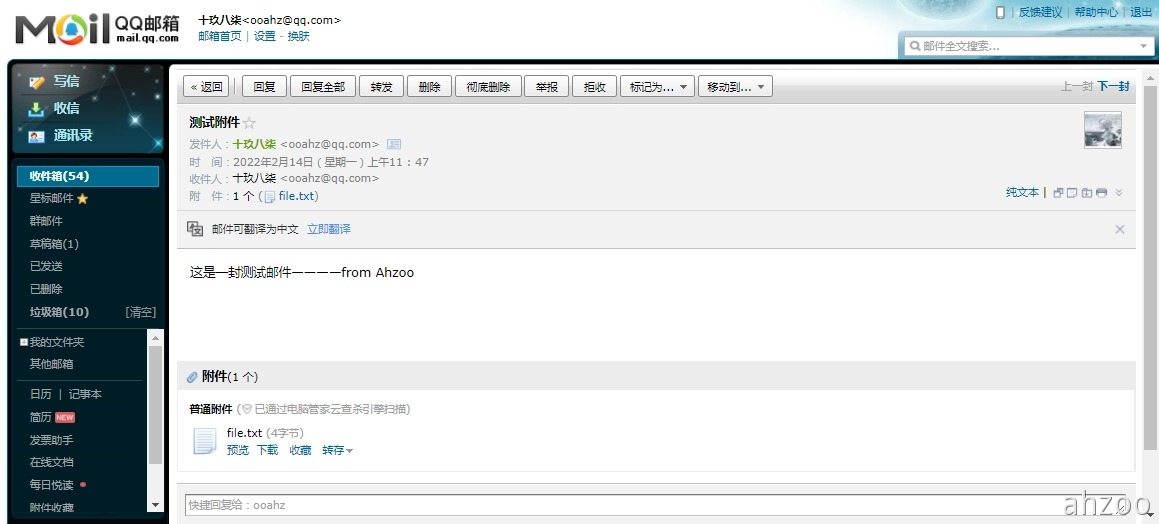
helper.setSubject("测试附件");
helper.setFrom("ooahz@qq.com");
helper.setTo("ooahz@qq.com");
// helper.setCc("999@163.com");
// helper.setBcc("999@outlook.com");
helper.setSentDate(new Date());
helper.setText("这是一封测试邮件————from Ahzoo");
File path = new File(ResourceUtils.getURL("classpath:").getPath());
// 第一个参数是自定义的名称,后缀需要加上,第二个参数是文件的位置
helper.addAttachment("文件.txt", new File(path + "/static/z.txt"));
javaMailSender.send(mimeMessage);
return "发送成功";
} catch (Exception e) {
e.printStackTrace();
return "发送失败" + e.getMessage();
}
}
}
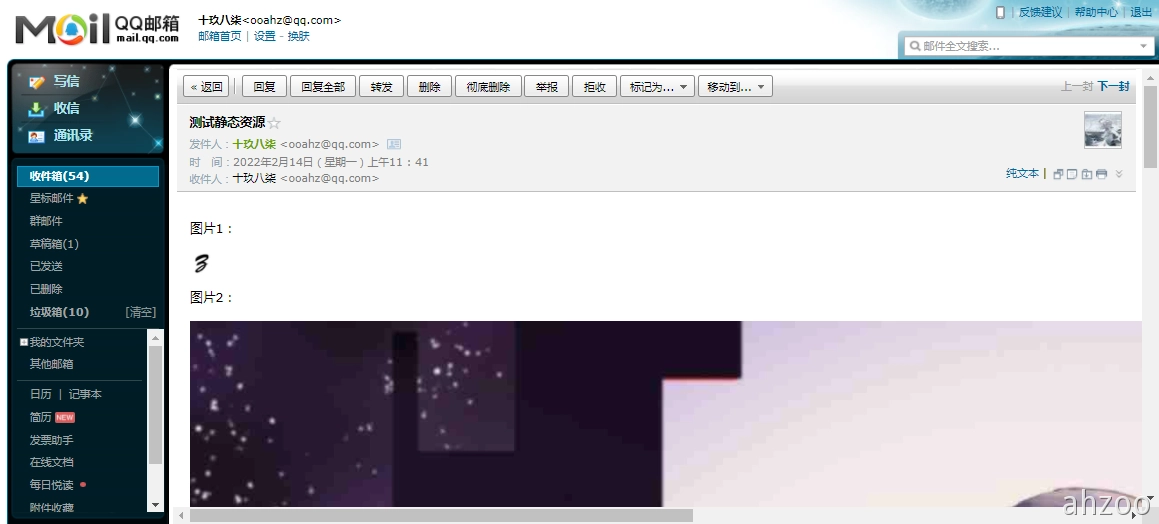
携带静态资源发送
import org.springframework.beans.factory.annotation.Autowired;
import org.springframework.mail.SimpleMailMessage;
import org.springframework.mail.javamail.JavaMailSender;
import org.springframework.mail.javamail.MimeMessageHelper;
import org.springframework.web.bind.annotation.PostMapping;
import org.springframework.web.bind.annotation.RestController;

import javax.mail.MessagingException;
import javax.mail.internet.MimeMessage;
import java.io.File;
import java.util.Date;

/**
 * @author ahzoo
 * @create 2022/2/11
 * @desc 邮件发送
 */
@RestController
public class email {

    @Autowired
    JavaMailSender javaMailSender;

  /**
     * 携带静态资源发送
     *
     * @return
     */
    @PostMapping("sendResource")
    public String sendImg() {
        MimeMessage mimeMessage = javaMailSender.createMimeMessage();
        MimeMessageHelper helper = null;
        try {
            helper = new MimeMessageHelper(mimeMessage, true);
            helper.setSubject("测试静态资源");
            helper.setFrom("ooahz@qq.com");
            helper.setTo("ooahz@qq.com");
//        helper.setCc("999@163.com");
//        helper.setBcc("999@outlook.com");
            helper.setSentDate(new Date());
            // 设置邮件正文内容。cid为占位符,对应下面的contentId。true表示正文为Html
            helper.setText("<p>图片1:</p><img src='cid:image1'/><p>图片2:</p><img src='cid:image1'/>", true);
            // contentId:对应上面占位符中的cid。file:静态资源路径

            File path = new File(ResourceUtils.getURL("classpath:").getPath());
            helper.addInline("image1", new File(path + "/static/1.png"));
            helper.addInline("image2", new File(path + "/static/ahzoo.jpg"));
            javaMailSender.send(mimeMessage);
            return "发送成功";
        } catch (Exception e) {
            e.printStackTrace();
            return "发送失败" + e.getMessage();
        }
    }

}
使用模板发送
常见的模板引擎主要有:Thymeleaf和Freemaker,这里不做演示
后记
项目结构:
版权声明
本文依据 CC-BY-NC-SA 4.0 许可协议授权,请您在转载时注明文章来源为 Z次元 ,若本文涉及转载第三方内容,请您一同注明。
知识积累
人非生而知之者,孰能无惑?惑而不从师,其为惑也,终不解矣。
评论区
目录
1
引入依赖
2
携带文字发送
3
携带附件发送
4
携带静态资源发送
5
使用模板发送
6
后记